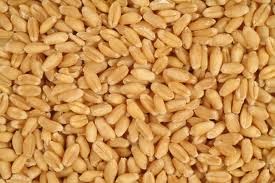
I have discussed the benefits of eating grains in a previous post, Grain Pain, so won't go into the nutritional aspects again. In that post, I mentioned that I have a Skippy Grain Mill and was planning to use it to grind my own wheat and use it for soaked wholewheat cooking. Well, I haven't had a lot of time to do this lately, but find myself with some time on my hands again.
I've been experimenting with sourdough, too. Sourdough requires a lot of dedication and planning. If you want to make a loaf of bread, you basically have to start two days before! It doesn't require a lot of hands on activity, mostly just sitting around doing its thing, but when it's ready to have something done to it, you have to be there to do it! So, I'm back to thinking of other ways to use our own wheat to make my bread and am revisiting the soaking idea. I found this recipe at Don't Waste the Crumbs and have given it a go with a few tweaks of my own and using the Thermomix. If you don't have a Thermomix, just mix by hand. It's not totally wholewheat, but this will hopefully make it a little lighter and less dense.
Here's how to do it:
(Start the evening before)
SOAKED (almost) WHOLE WHEAT BREAD
The Bush Gourmand
480g whole wheat flour, freshly ground if possible
140g white bread flour
240g buttermilk (or use ½ cup yoghurt mixed with ½ cup whole milk)
¼ cup cold water
90g soft butter
Add to the Thermomix bowl and mix on dough setting for about 3 minutes or until the mixture begins to come together. It will resemble play dough.
Place in a ceramic bowl and cover with plastic wrap and leave to sit on the bench overnight or for up to 24 hours. It will look darker on the outside of the dough. Don't worry, this is perfectly normal and the bread will not be dark in colour.
Next morning, continue with the recipe below:
½ cup warm water
1 Tbsp rapadura sugar syrup (Maleo) or 2 Tbsp honey
2 ½ tsp dried yeast
2 Tbsp macadamia or other mild tasting oil
Mix together in a small jug and leave to prove for 5 minutes.
Place soaked dough back into Thermomix bowl - break it up a little. Add the proved yeast mixture and knead on dough setting for 3 minutes.
1 tsp salt
1 ½ tsp bread improver
½ tsp Vitamin C powder
Add to the dough and knead for a further minute on dough setting. Remove from bowl and place on to bench or silpat mat. Knead by hand for 5 minutes until smooth and silky. Shape into a round ball and place back into the (greased) ceramic bowl. Cover with greased plastic wrap and leave in a warm place to double in size.


Roll dough out into a rectangle shape.
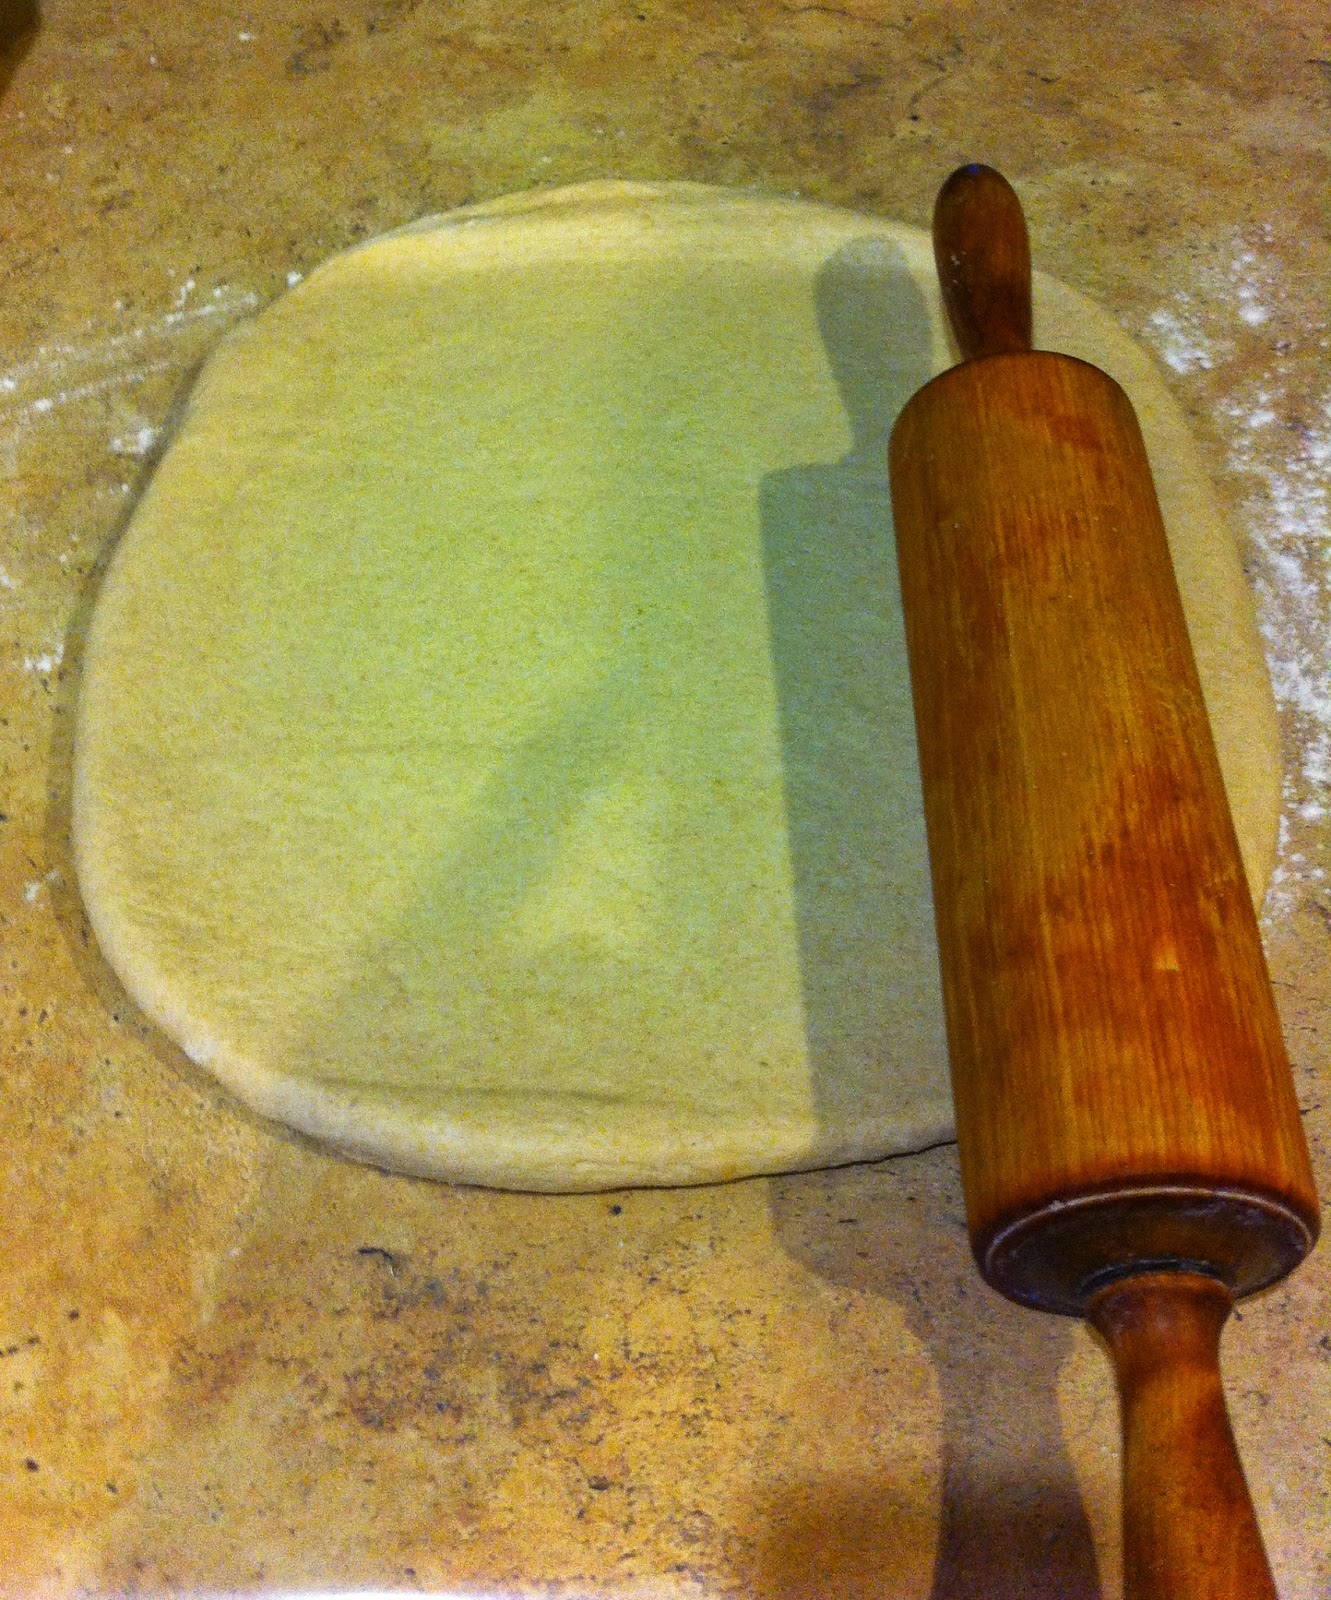
Once proved, remove dough from the bowl and place onto a lightly floured work surface.
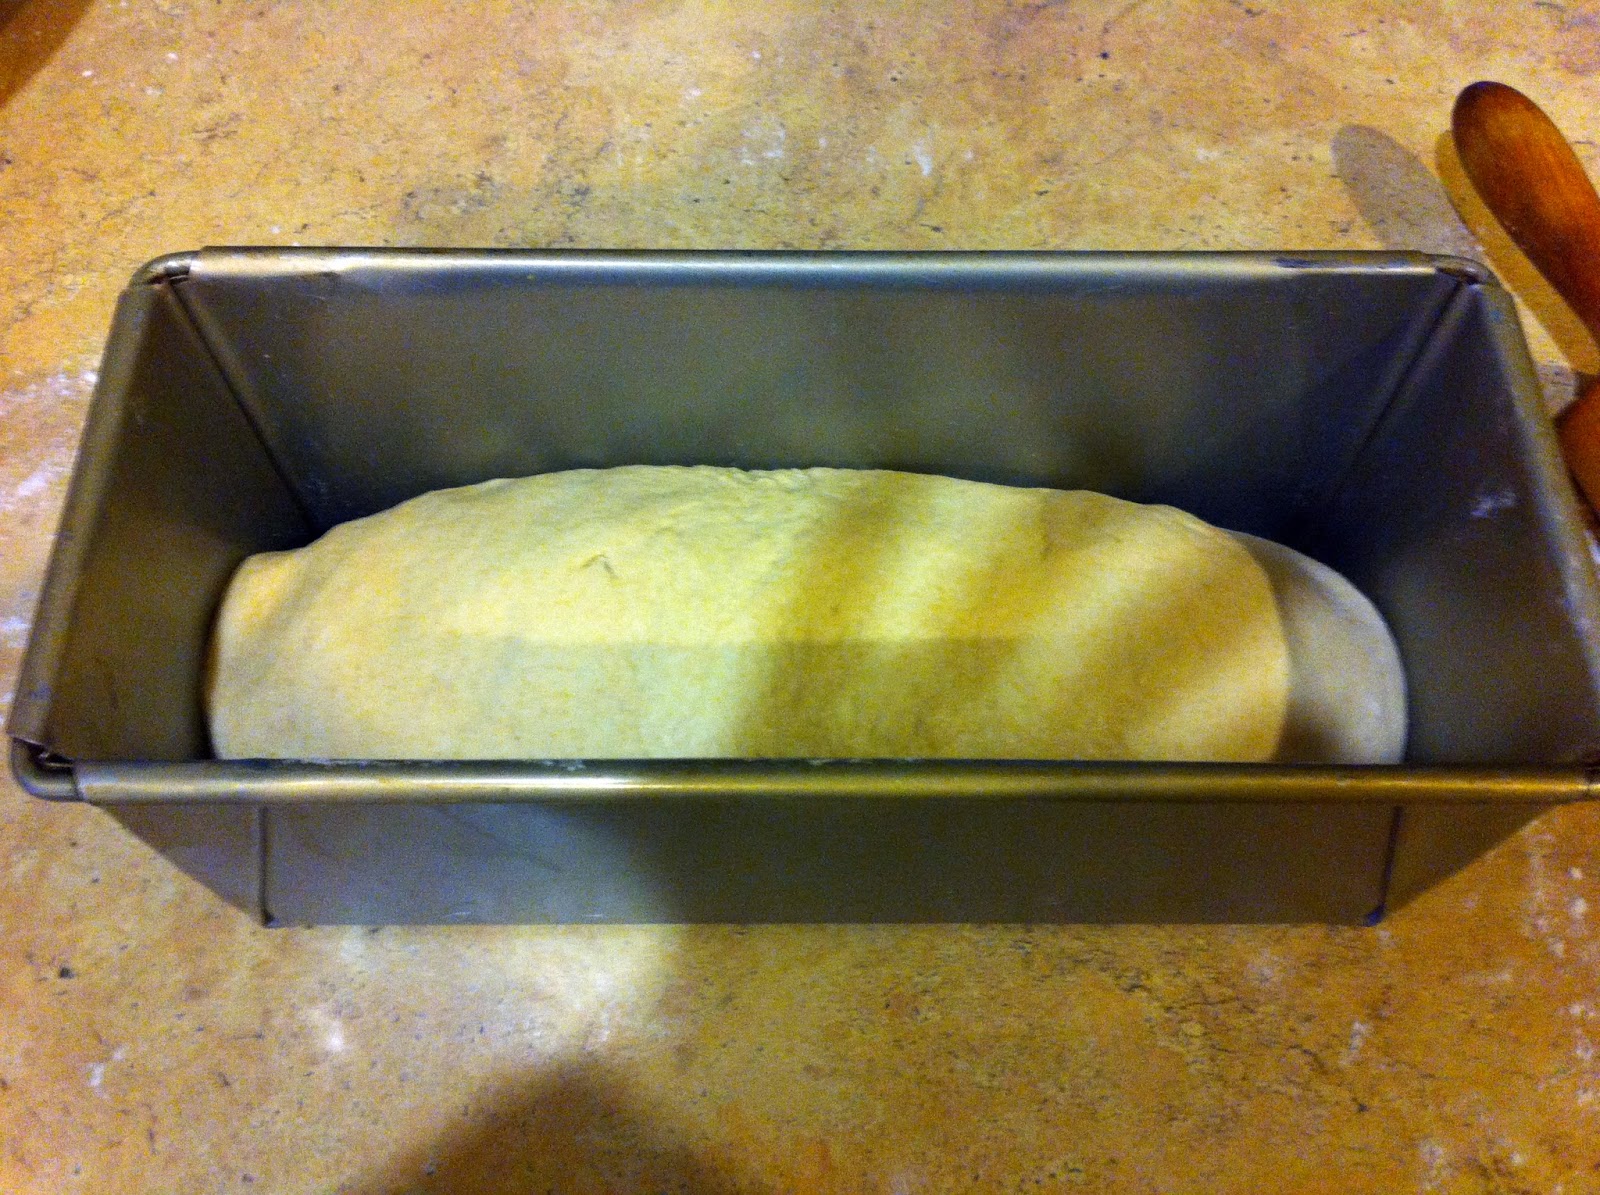
Roll the rectangle up from the shorter side and tuck in the edges.

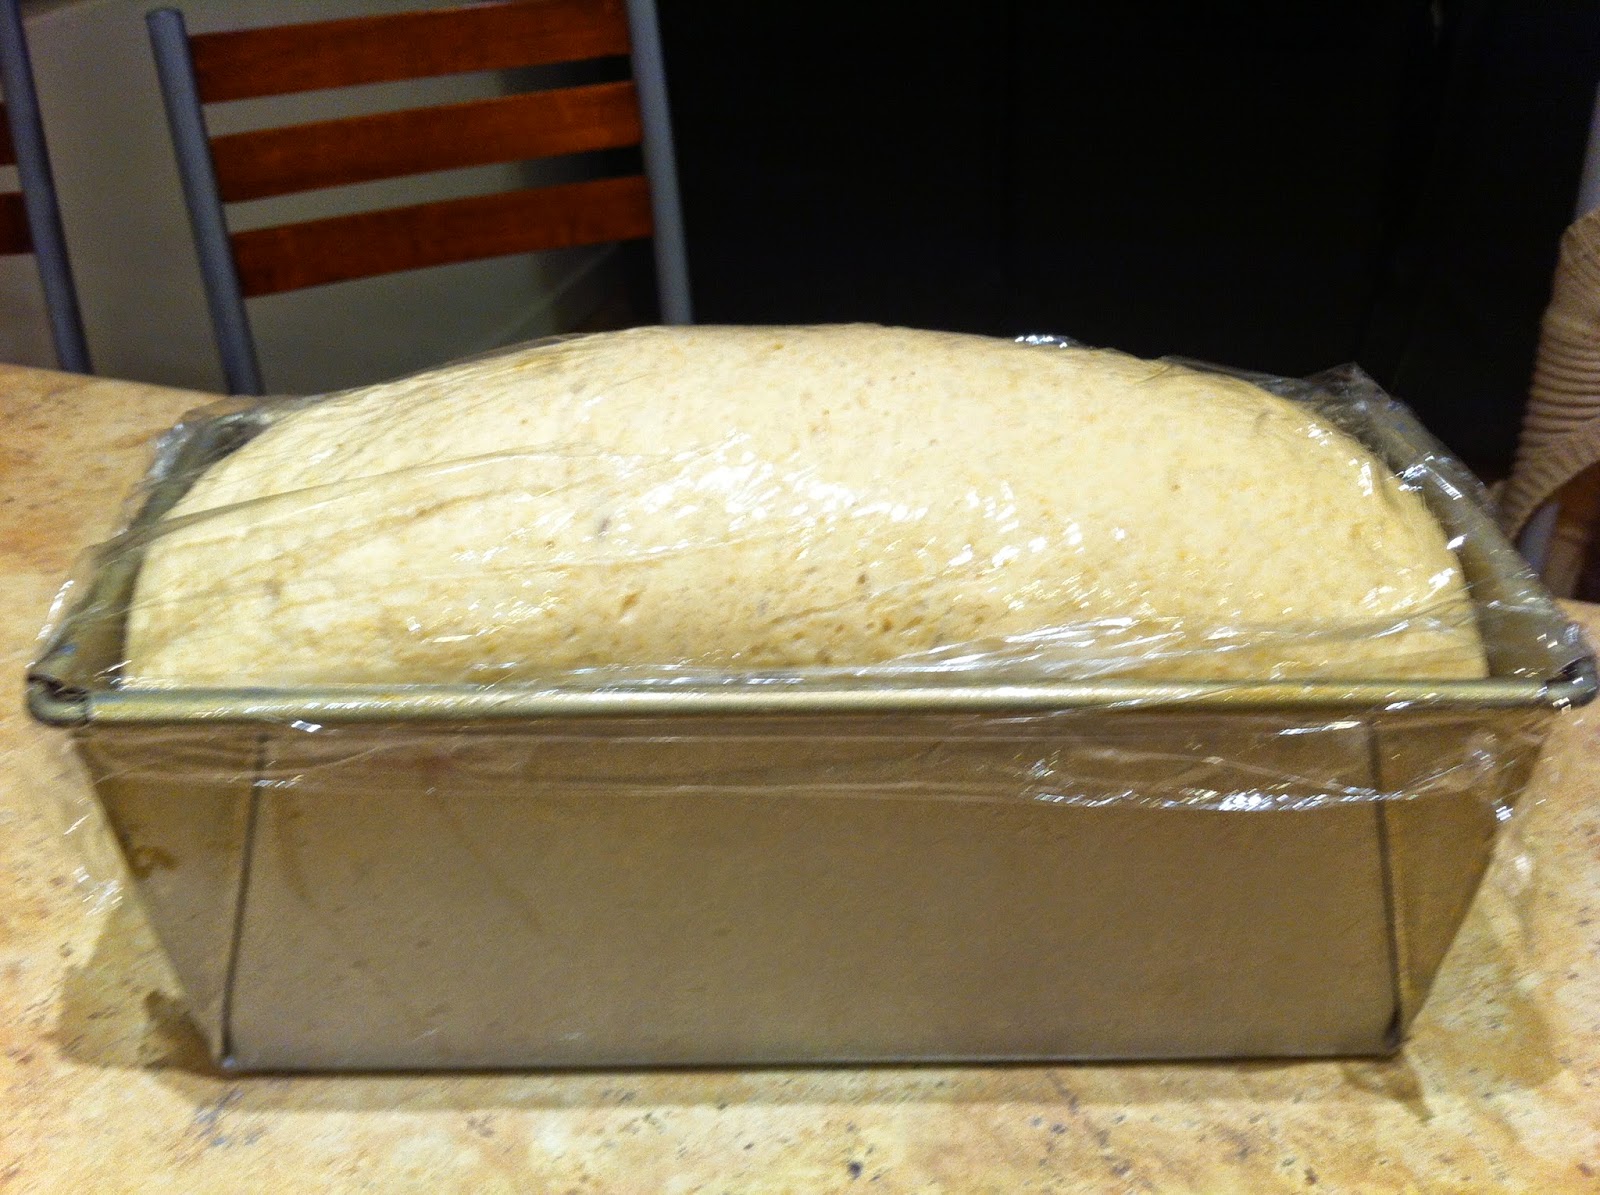
Place into a bread tin and cover once more with the greased plastic wrap.
and leave to rise again until it's come up above the sides of the tin.
My bread tin measures 26cm x 11 cm. I bought it online from All About Bread.

Place into a hot oven, around 225C. After 10 minutes, reduce to 200C and bake for another 20 minutes or so. Check whether it's cooked by carefully removing from the tin and tapping the base. It should sound hollow. If not, place the loaf back into the oven straight onto the racks and bake a further 5 to 10 minutes.

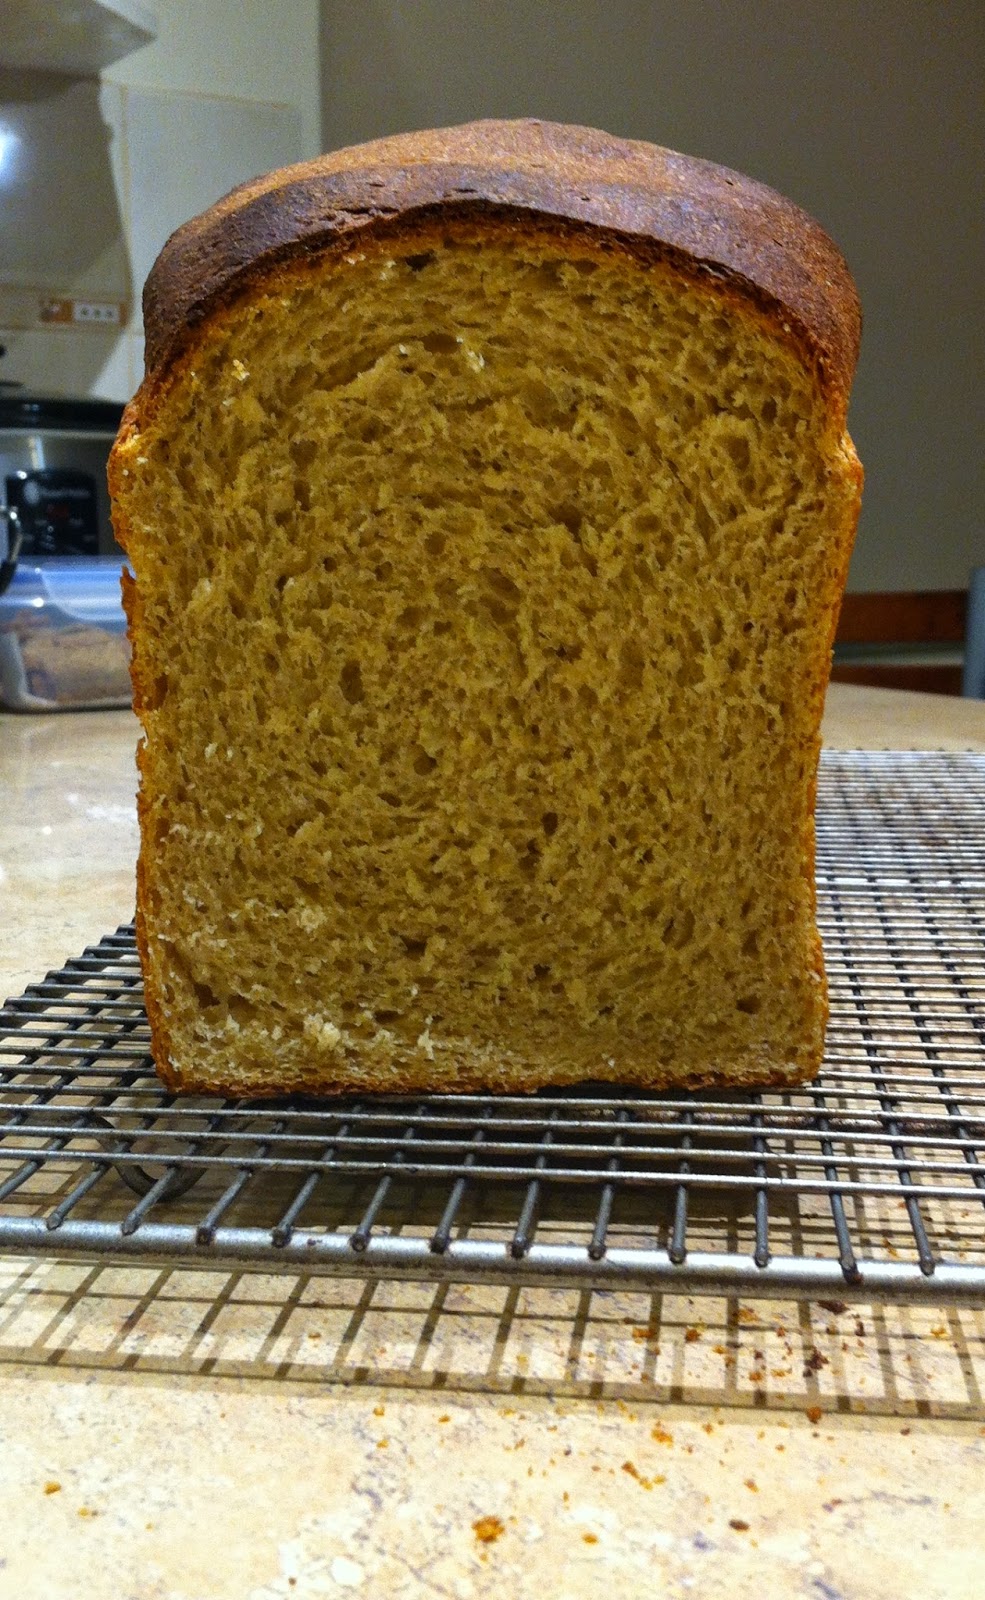
I like the top of my bread nice and dark, so very happy with this. If you prefer a lighter coloured crust, preheat oven to 200C and cook at this temperature.
The loaf feels nice and light and has a wonderful texture.
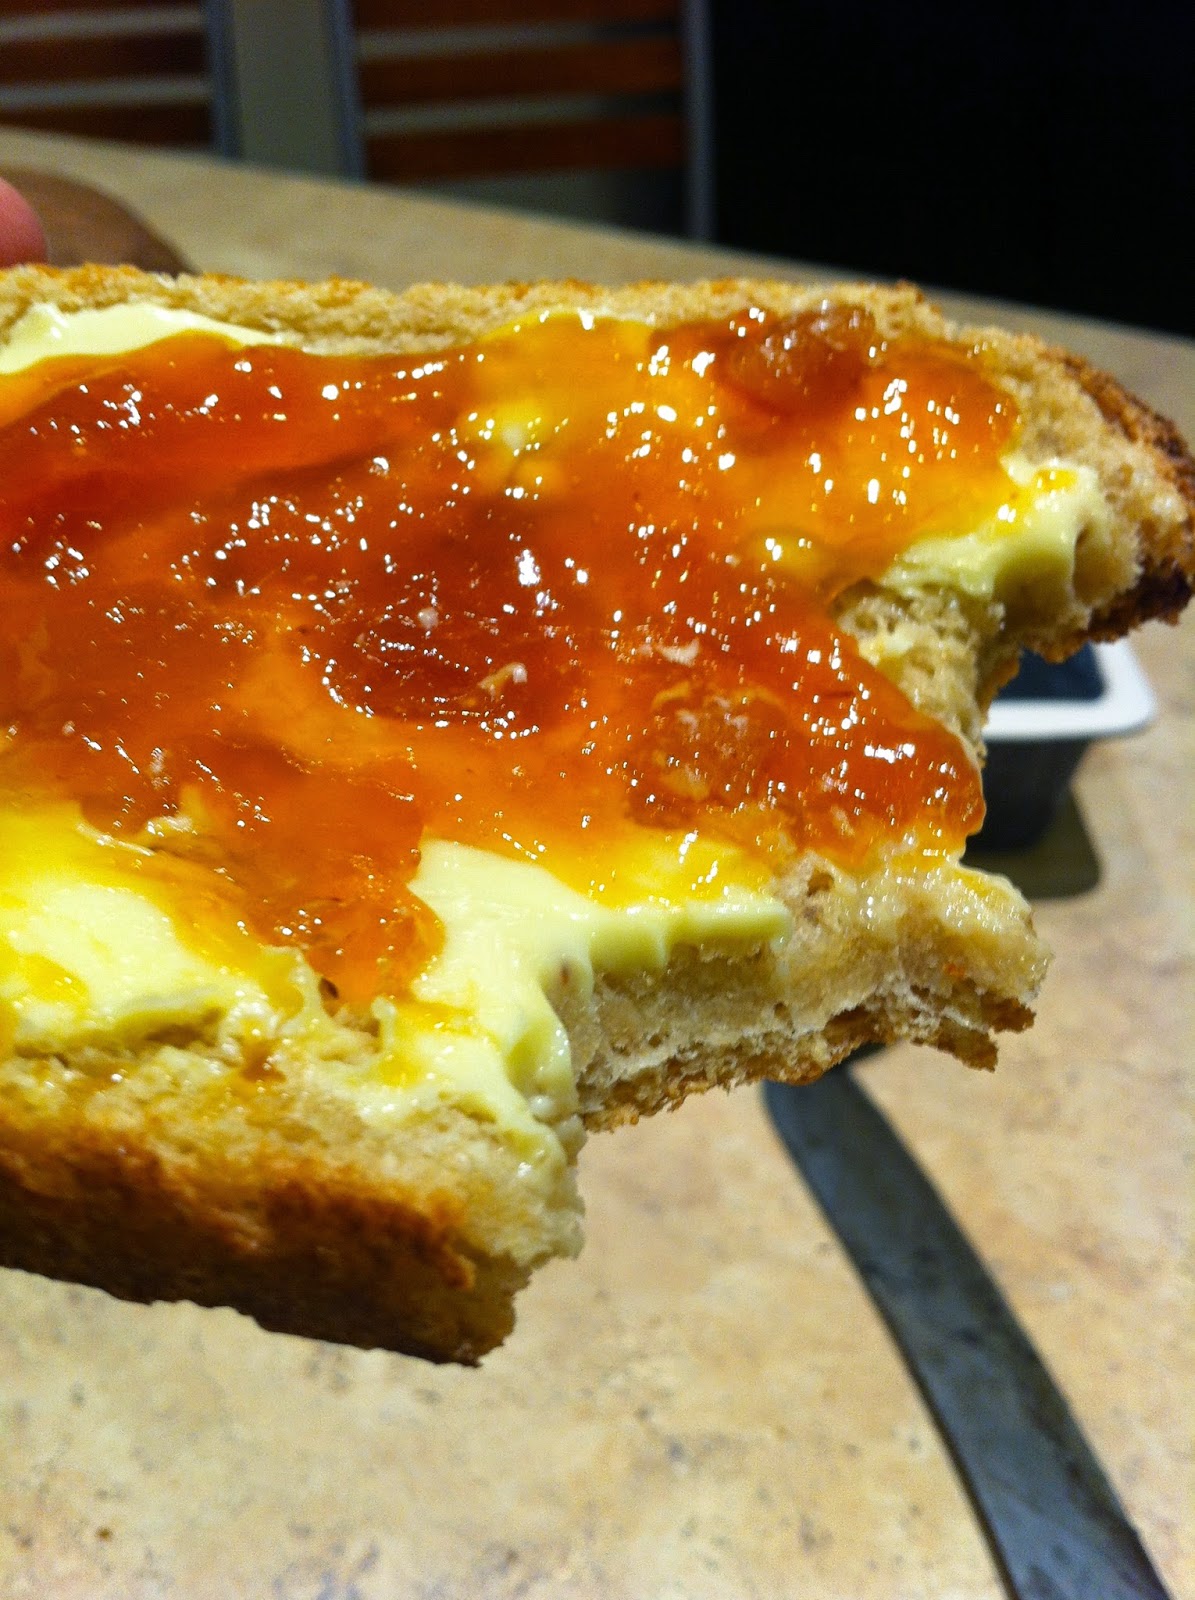
...and it's delicious with lashings of butter and my homemade dried apricot jam.
Megan
No comments:
Post a Comment